Starting a business is exciting, but before you jump into selling, hiring, or marketing, there’s one important thing to get done: registering your business legally.
It may sound a bit technical at first, but once you understand the steps, it’s pretty straightforward. And getting registered doesn’t just make your business official, it also helps with opening a bank account, getting licenses, and building trust with clients.
Whether you’re starting something small on your own or planning to grow big in the future, this guide will walk you through the entire process of business registration in India, step by step.
Step 1: Decide what type of business you’re starting
This is like choosing the shape of your container before you pour in your idea.
Here are the most common options:
- Sole Proprietorship – If it’s just you and you want something simple with minimal fuss.
- Partnership Firm – If you’re starting something with a friend or family member and want a basic setup.
- LLP (Limited Liability Partnership) – For those running service-based businesses or agencies and want some legal protection.
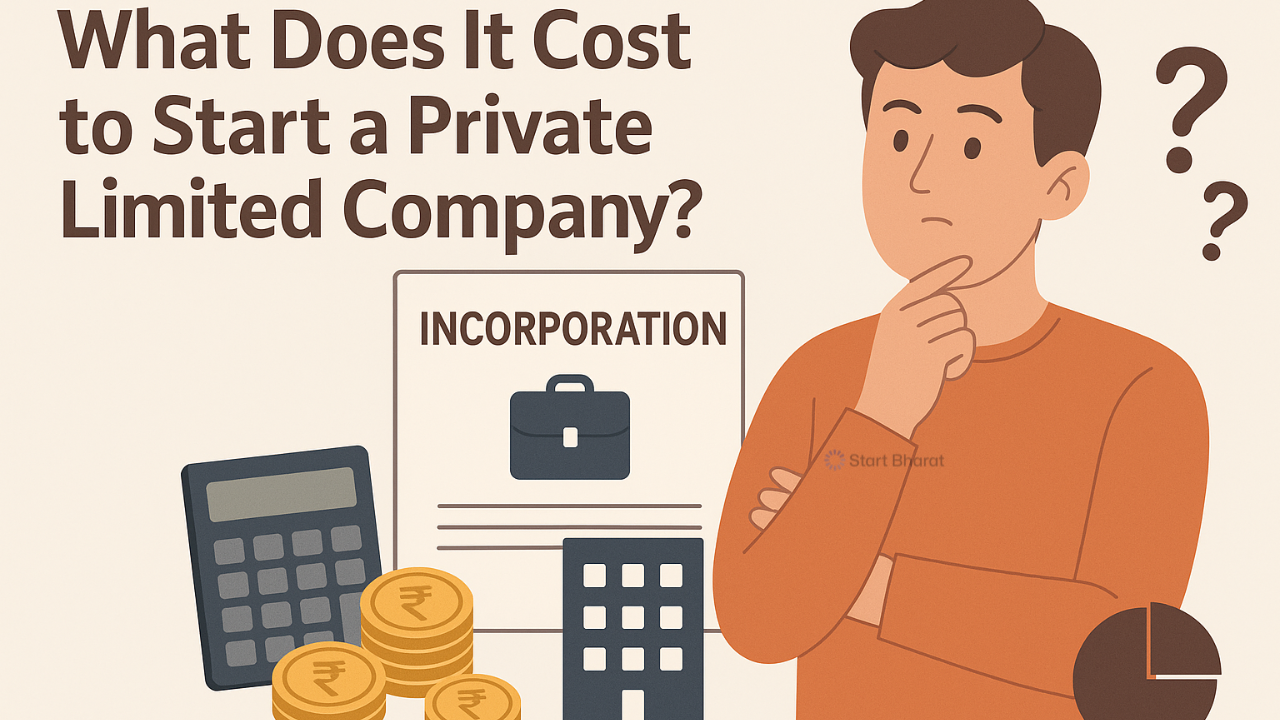
- Private Limited Company – Perfect if you’re building a startup, want to scale, or raise funds later.
- OPC (One Person Company) – If you’re starting solo but want a more “corporate” feel with limited liability.
Choosing the right structure depends on where you see your business going. Don’t stress, this isn’t permanent. You can switch structures later if needed.
Step 2: Pick a name for your business
Time to get creative. Your business name needs to be unique and available. You can check this on the MCA (Ministry of Corporate Affairs) website.
Try to keep a few name options ready because your first choice might already be taken. Also, make sure the domain name is available if you plan to take your business online, which, let’s be honest, you probably will.
If you’re registering a Private Limited or LLP, you’ll need to add those terms at the end of the name.
Step 3: Get your Digital Signature Certificate (DSC)
All company-related forms are submitted online in India, and to sign them digitally, you need a Digital Signature Certificate.
Every director or partner needs one. You can get it from providers like eMudhra, Sify, or NCode. It usually takes 1–3 days.
Think of it like your online signature for official stuff. Super important.
Step 4: Apply for a Director Identification Number (DIN)
If you’re going for a Private Limited or LLP, each person involved as a director or partner needs a DIN.
The good news? You can apply for it while filling out the company registration form (called SPICe+). It’s like getting your ID number as a director.
Once you have it, you don’t need to reapply again, it stays with you.
Step 5: Fill out the company registration form
Here’s where things get official.
Go to the MCA portal and use the SPICe+ form. This is a combined form that helps you:
- Reserve your business name
- Register your company
- Apply for PAN & TAN
- Get EPFO & ESIC registration
- Apply for GST (optional)
What you’ll need:
- Passport-size photos
- Aadhaar, PAN, or other ID for directors
- Electricity/water bill for your office address
- NOC from the property owner (if it’s rented)
Once everything’s submitted, you usually get your Certificate of Incorporation in about a week.
Step 6: PAN & TAN will come automatically
Once your company is registered, your PAN (Permanent Account Number) and TAN (Tax Deduction and Collection Account Number) will be issued automatically.
PAN is needed for taxes and opening your bank account. TAN is needed if your business will deduct TDS, something that’s required once you hire employees or work with contractors.
No need to apply separately for these anymore — it’s all bundled in the SPICe+ form now.
Step 7: Open a current account
Now that you’ve got your PAN and incorporation certificate, go ahead and open a business bank account.
Most banks will ask for:
- Your incorporation certificate
- Company PAN
- KYC documents for directors or partners
- Address proof
- Board resolution (for companies)
Pick a bank that gives you easy online access and doesn’t make you run to the branch every other day.
Step 8: Register for GST (if needed)
If your business is going to make more than ₹40 lakh a year (or ₹20 lakh for service businesses), or if you’re planning to sell across states, GST registration is a must.
Even if you’re under the threshold, registering early gives you credibility and lets you work with bigger clients who might ask for GST bills.
You can apply for it online at www.gst.gov.in.
Step 9: Look into other registrations
Depending on what kind of business you’re starting and where, you might also need:
- Professional Tax (if your state requires it)
- Shops & Establishment License (for physical shops or offices)
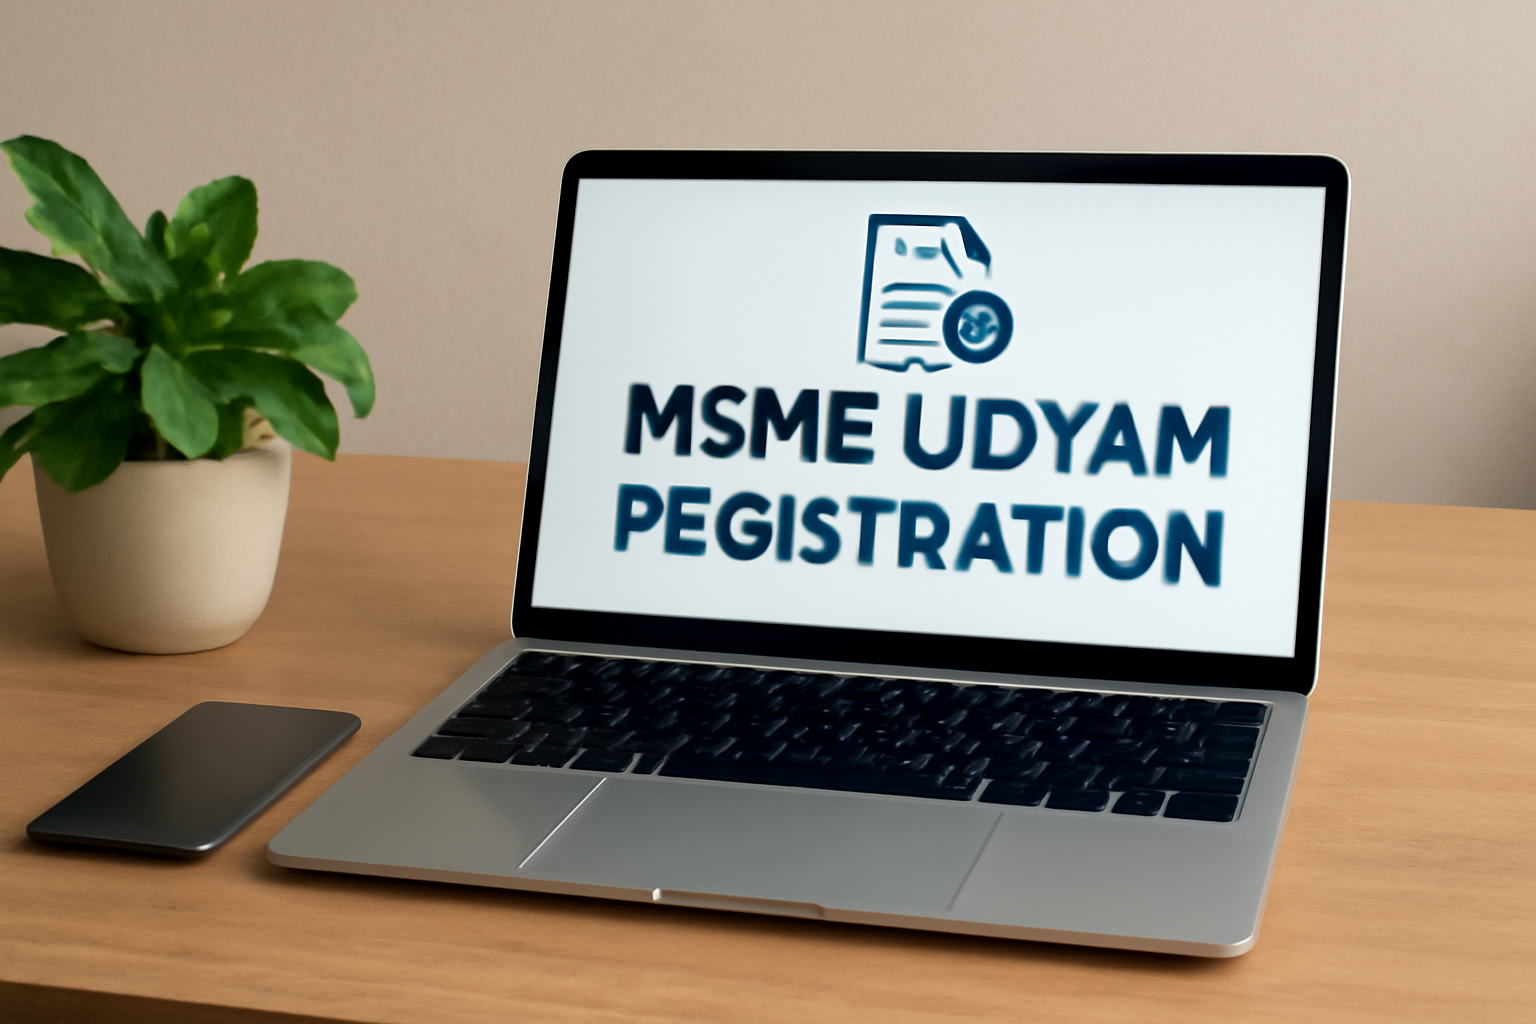
- MSME/Udyam Registration (for small businesses — gives you government benefits)
- Import Export Code (IEC) if you want to sell products internationally
Each of these has its own online portal now — no long queues, just some patient uploading.
Step 10: You’re all set — now start building
Once your business is registered, the real work begins, building your product, getting your first customers, and figuring things out along the way.
Just make sure to:
- Keep your books clean (an accountant or software can help)
- File your returns and reports on time
- Renew licenses if required
- Stay on top of compliance so it doesn’t pile up
A quick real-life example
Let’s say Aakash from Hyderabad wants to launch his tech consulting business. He starts as an OPC to keep it simple. Within a year, he brings on a co-founder and converts the business into a Private Limited Company to raise some seed funding.
Because he did his registration properly from the start, the transition was smooth, and investors were happy with how organized he was.
Lesson? Start right, even if you’re starting small.
Final thoughts
Registering your business might sound like a lot at first, but it’s actually very doable, especially now that most of it is online.
Don’t overthink it. Just figure out what works best for your current setup, get your documents together, and take it one step at a time.
And remember, the registration is just the beginning. What really matters is what you build after.